Moved a picture and left a few little holes behind? You usually do not need to cut out the wall or buy a patch kit for that. A small amount of suitable filler and a careful finish are the starting point.
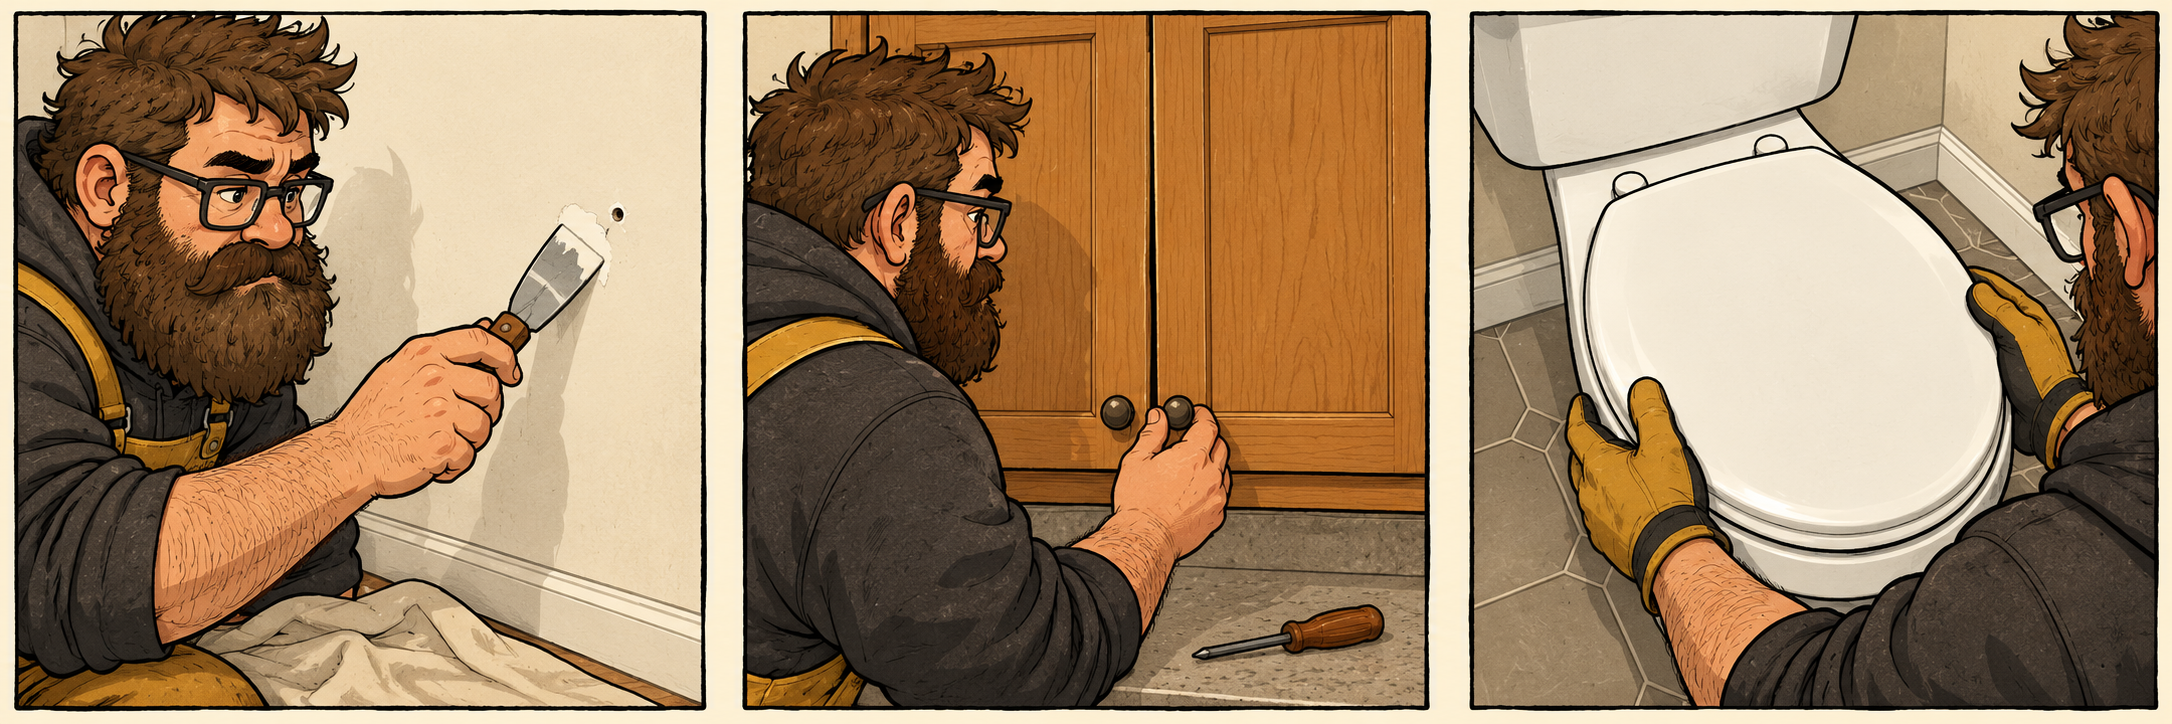
Is this your repair?
Small, empty nail holes and shallow dents in sound, dry, smooth-painted drywall. Not torn-out anchors, recurring cracks, damp patches, loose wallboard or textured coatings.
Tools
- Small flexible putty knife — press in filler and scrape off the excess
- Fine sandpaper, if the filler requires it — smooth the dried repair without sanding a wide area
- Small brush or roller — apply the compatible primer and paint
Materials
- Spackling compound labelled for small drywall repairs
- Compatible primer and matching wall paint
- Protective sheet and cleanup materials specified by the filler maker
1. Check that this is a small surface repair
Look at each hole in good light. A little puncture is different from missing wallboard or a ring of torn paper. If the damage is larger than the filler allows, use the appropriate patch method instead.
2. Prepare a clean spot
Protect the floor. On a known-safe coating, remove loose debris gently and leave the area clean and dry. Avoid digging into sound paper or turning a pinhole into a crater. Follow the filler’s surface-preparation instructions.
3. Fill the hole, not half the wall
With a clean putty knife, work a little compound into the opening. Draw the blade across to remove surplus. Keep the edges thin. Follow the product’s layer limits rather than packing a deep repair in one go.
4. Let it dry and inspect
Use the drying guidance on your chosen filler; there is no single waiting time for every product. If the repair has sunk, add another thin application as instructed. Once ready, smooth only as needed using the maker’s recommended method and dust precautions.
5. Finish with primer and paint
Clear away residue and follow the filler and paint instructions for priming and recoating. Check the result after the paint dries. A touch-up can still show if the old paint has faded or the sheen differs; repainting a larger area may give a more even finish.
Mistakes worth avoiding
- Using toothpaste or household caulk instead of a suitable wall repair compound.
- Painting before the filler is ready.
- Sanding the surrounding paint just to flatten a blob that could have been scraped off while filling.
Final check
Look across the repair with light from the side. It should be flush and dry, with no loose edge or sunken center.