A door handle hits the wall, a fixing pulls out, or moving furniture leaves a hole. For a small repair, the filling is usually straightforward. Getting the patch to blend into the surrounding wall takes a little more patience.
This guide covers a small hole in a dry, sound interior wall, using a self-adhesive reinforced repair patch designed to be covered with compound. Choose a patch rated for the hole’s size. Larger holes, soft or water-damaged drywall, and repairs to fire-rated walls need a different approach.
Plan the project
Beginner · Allow each coat, primer, and paint to dry according to its instructions.
Tools and materials
Required tools
- Tape measure or ruler — Measure the damage and choose a suitable patch
- Utility knife — Carefully trim loose paper
- 6-inch (about 150 mm) drywall knife — Apply the first coat
- 10–12-inch (about 250–300 mm) taping knife — Spread later coats and blend the edges
- Sanding block with fine abrasive — Smooth the dried compound
- Paintbrush or small roller — Apply primer and paint
- Safety glasses and suitable dust protection — Protect yourself during preparation and sanding; follow the compound’s safety instructions
Materials
- Self-adhesive reinforced drywall repair patch.
- Joint compound or patching compound approved for that patch.
- Primer suitable for repaired drywall.
- Matching wall paint.
- Floor protection and clean cloths.
Before you begin
Find out why the damage happened. Fix a leak before repairing damp drywall, and consider a doorstop if a handle caused the hole. In a US home built before 1978, check for lead-paint hazards before cutting or sanding painted surfaces. Ordinary dust protection does not replace lead-safe working practices. Read the EPA’s guidance for DIY renovations.
Stop if you find electrical wiring
Stop if you find electrical wiring. If wires are visible in or around the hole, do not cut near them, touch them, or move them. Stop the repair and have a qualified electrician assess the wiring and advise when it is safe to continue. Do not cover damaged or exposed wiring with a patch.
Helpful extras
A work light helps reveal ridges, and a compound tray holds a small working amount. Check the patch instructions before buying compound: repair products do not all use the same method.
Project steps
Prepare the damaged area
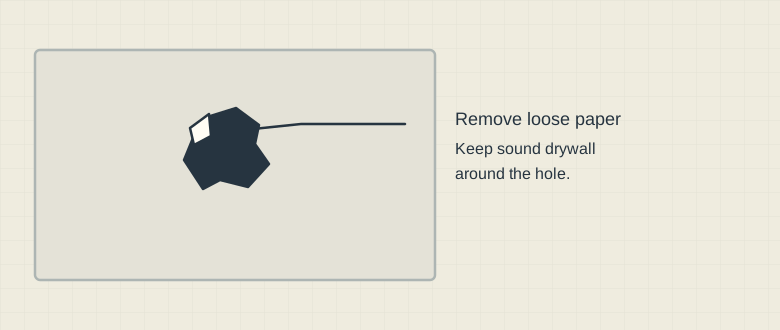
Schematic illustration. Trim loose paper only; do not cut deeper into the wall. Stop if the surrounding drywall is soft or crumbling. Protect the floor. Remove loose debris and carefully trim dangling paper without cutting deeper into the wall. Keep your free hand out of the blade’s path.The surface around the hole should be firm, dry, and clean. If material keeps crumbling away, stop and reassess the repair.
Fit the patch
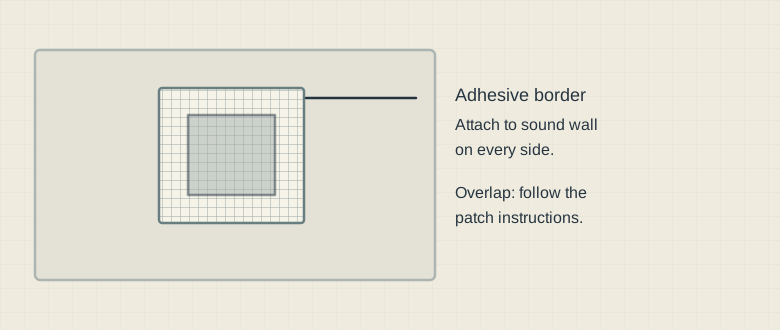
Schematic illustration. The patch bridges the opening. Its adhesive border must attach securely to sound drywall on all sides; dimensions shown are not a sizing guide. Center the patch over the hole and press its adhesive border onto sound drywall. Follow the patch manufacturer’s required overlap and maximum hole size. If it cannot attach securely around the entire hole, choose a suitable repair method before continuing.
Cover it with compound
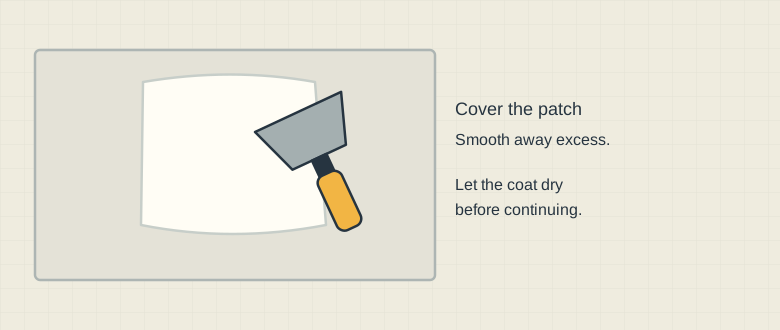
Schematic illustration. Spread the compound approved for your patch and feather the edges. Follow that product’s drying instructions. Use the smaller knife to cover the patch with the compatible compound. Smooth away excess and taper the edges into the surrounding wall. This is called feathering: the coat becomes thinner as it reaches the untouched surface.Let the coat dry according to the product instructions. Do not use another product’s advertised drying time.
Blend the repair
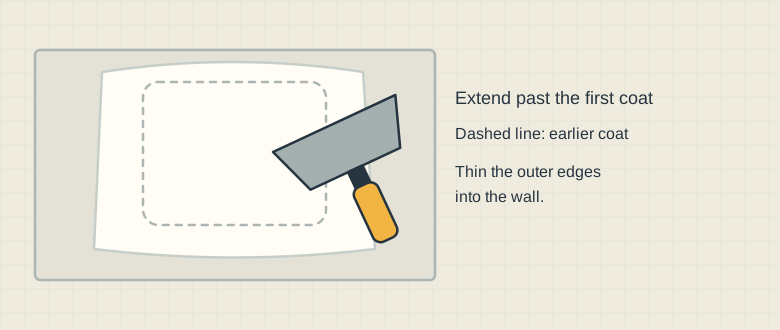
Schematic illustration. Use a wider knife for a gradual transition. The dashed outline marks the earlier coat, not a line you should leave visible. Apply a wider, thin coat with the larger knife. Extend it beyond the first coat so the raised patch blends gradually into the wall. Let it dry fully.
Smooth and inspect
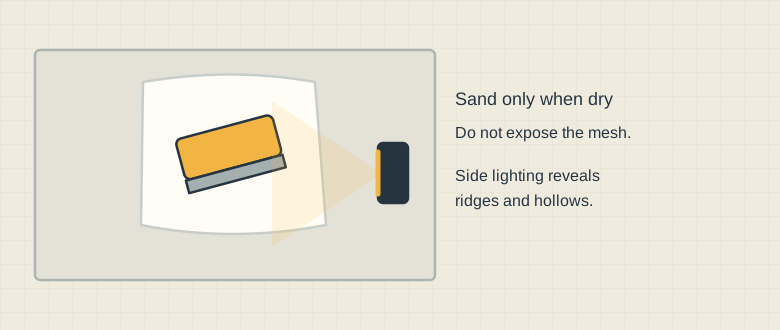
Schematic illustration. Use suitable dust protection and the compound’s dust-control instructions. Side lighting helps reveal areas that need attention. Lightly sand the dried compound with a fine abrasive suitable for the product. Avoid exposing the patch or scuffing the surrounding drywall paper. Follow the product’s dust-control instructions and remove dust before decorating.Shine a work light across the wall from the side. A ridge casts a shadow; a shallow hollow needs a little more compound. Correct those spots before painting.
Prime and paint
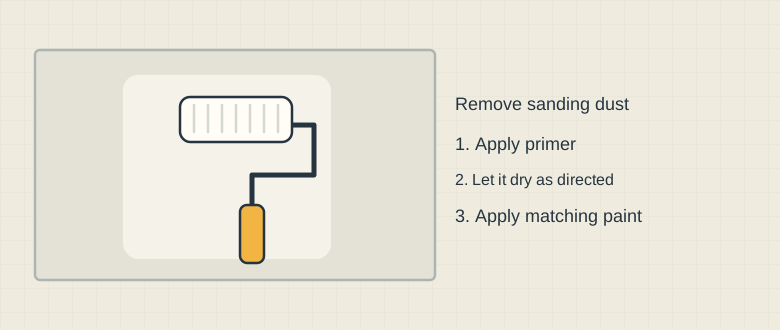
Schematic illustration. Primer and paint are separate stages. Check the finish after drying in daylight and under room lighting. Prime the repaired area, then paint once the primer is ready for recoating. Follow both products’ instructions.Check the result in daylight as well as under room lighting. If the touch-up remains noticeable, painting the wall from corner to corner can give a more consistent finish. Textured walls may also need matching texture before painting; that extra process is outside this guide.
Safety & limits
- Using a patch that barely covers the hole: the adhesive needs sound wall around the damage.
- Leaving a thick mound: wider, tapered coats blend more naturally.
- Sanding through the patch: add and smooth compound instead of trying to sand everything flat.
- Skipping primer: the repaired area can absorb paint differently.
- Hanging something from the repair: a cosmetic patch is not an anchor point.
Sources & further reading
These links document the information used in this article. Manufacturer specifications and source research are not hands-on test results or an endorsement of a purchase.
- EPA: Lead-safe renovations for DIYers
Reference checked 2026-10-28