A handle that rocks when you open a cabinet often needs a simple screw check. Start with the hardware already fitted: the aim is to take up looseness, not to replace screws, drill holes or hide damaged threads.
Plan the project
Beginner · Work slowly by hand; stop if the fixing or material is damaged.
Tools and materials
Materials
- A soft cloth to protect the handle finish if needed.
- The handle’s fitting instructions if available; no replacement fasteners are specified here.
Is this your job?
For an ordinary cabinet knob or pull with accessible mounting screws through a sound door or drawer front. This does not cover glass fronts, appliance handles, concealed fixings, child-safety hardware, or a damaged cabinet.
Before you start
Empty anything that could spill or obstruct your access. Keep the door or drawer stable, and keep your free hand away from the screwdriver’s possible slip path. Stop if the front is cracked, swollen or crumbling, the handle is broken, or the screw head is damaged.
What each tool does
Correct-size manual screwdriver or bit driver: Turn the existing mounting screw with control. Work light, if access is dim: Identify the screw head without guessing.
Check the result
The handle should feel steady during normal operation, without a dented front or a screw forced beyond its proper seat. Persistent movement needs inspection of the hardware and cabinet material.
Project steps
Find the fixing
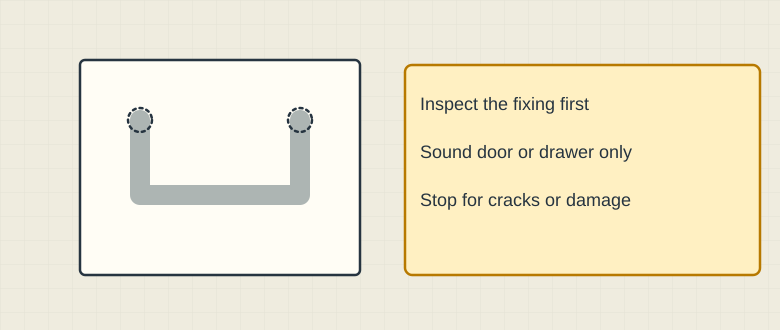
Schematic illustration. Example cabinet pull: access the existing fixing screws without prying or removing the drawer front. Open the cabinet or drawer only far enough for safe access. Look behind the handle for its mounting screw or screws. If you cannot see the fixing, check the instructions; do not pry off decorative covers or remove a drawer front to search for it.
Choose the driver that fits
Seat the correct tip fully in the head. A tip that rocks or slips is not close enough. Use a manual driver for this job so you can feel when the screw begins to seat.
Keep the handle aligned
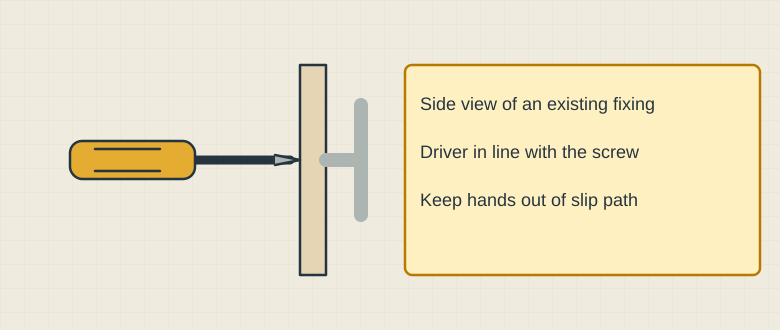
Schematic illustration. Schematic through-fixing: use the correct manual driver and control the handle safely. Keep the knob or pull in its intended position without placing fingers behind the screw point or in the driver’s slip path. If you cannot control the part and keep your hands clear at the same time, get help rather than working awkwardly.
Take up looseness gradually
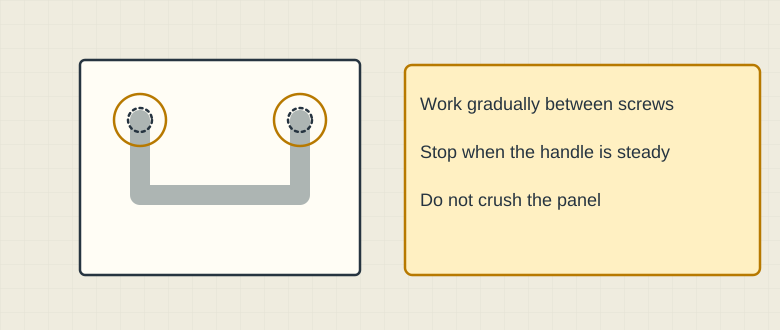
Schematic illustration. For a two-screw handle, tighten gradually between both screws. Stop for spinning screws or a still-loose handle. Turn the existing screw clockwise in small movements while keeping the driver straight. On a two-screw pull, check both ends and tighten a little at a time so the handle stays aligned. Stop when it is seated and no longer rocks; do not crush the cabinet surface. A screw that spins without securing the handle, or bottoms out while it stays loose, needs the correct repair—not more force.
Try normal use
Open and close the door or drawer gently using the handle. If it shifts again, stop and investigate the fixing. Do not use a longer screw, extra washers or thread adhesive without the hardware’s instructions; those can conceal the actual mismatch.
Safety & limits
- Empty anything that could spill or obstruct your access. Keep the door or drawer stable, and keep your free hand away from the screwdriver’s possible slip path. Stop if the front is cracked, swollen or crumbling, the handle is broken, or the screw head is damaged.
- Using a power driver to make the job faster. It is easy to overtighten small hardware.
- Turning the knob against the painted front while tightening it. Keep the fitting aligned.
- Assuming every loose handle needs a longer screw. Thread type, length and cabinet thickness must match.
Sources & further reading
These links document the information used in this article. Manufacturer specifications and source research are not hands-on test results or an endorsement of a purchase.
- CCOHS: general screwdriver safety (Canadian guidance, not US code or task approval)
Reference checked 2026-10-29