There is something special about looking at a shelf and thinking, “I made that.” It does not have to look perfect the first time. A pencil mark left behind or a slightly uneven finish does not take that away. Skills come with time and practice, and making something useful is a good place to start. Take care with the joints and supports; the neat finishing touches will come as you learn.
More storage: simple shelves on uprights
This version follows our simple timber design: continuous uprights, a short support across each end at every shelf level, and separate boards laid across those supports. There is no boxed frame around each shelf. The drawing shows four levels, but the size and spacing depend on the space and suitable wood you have.
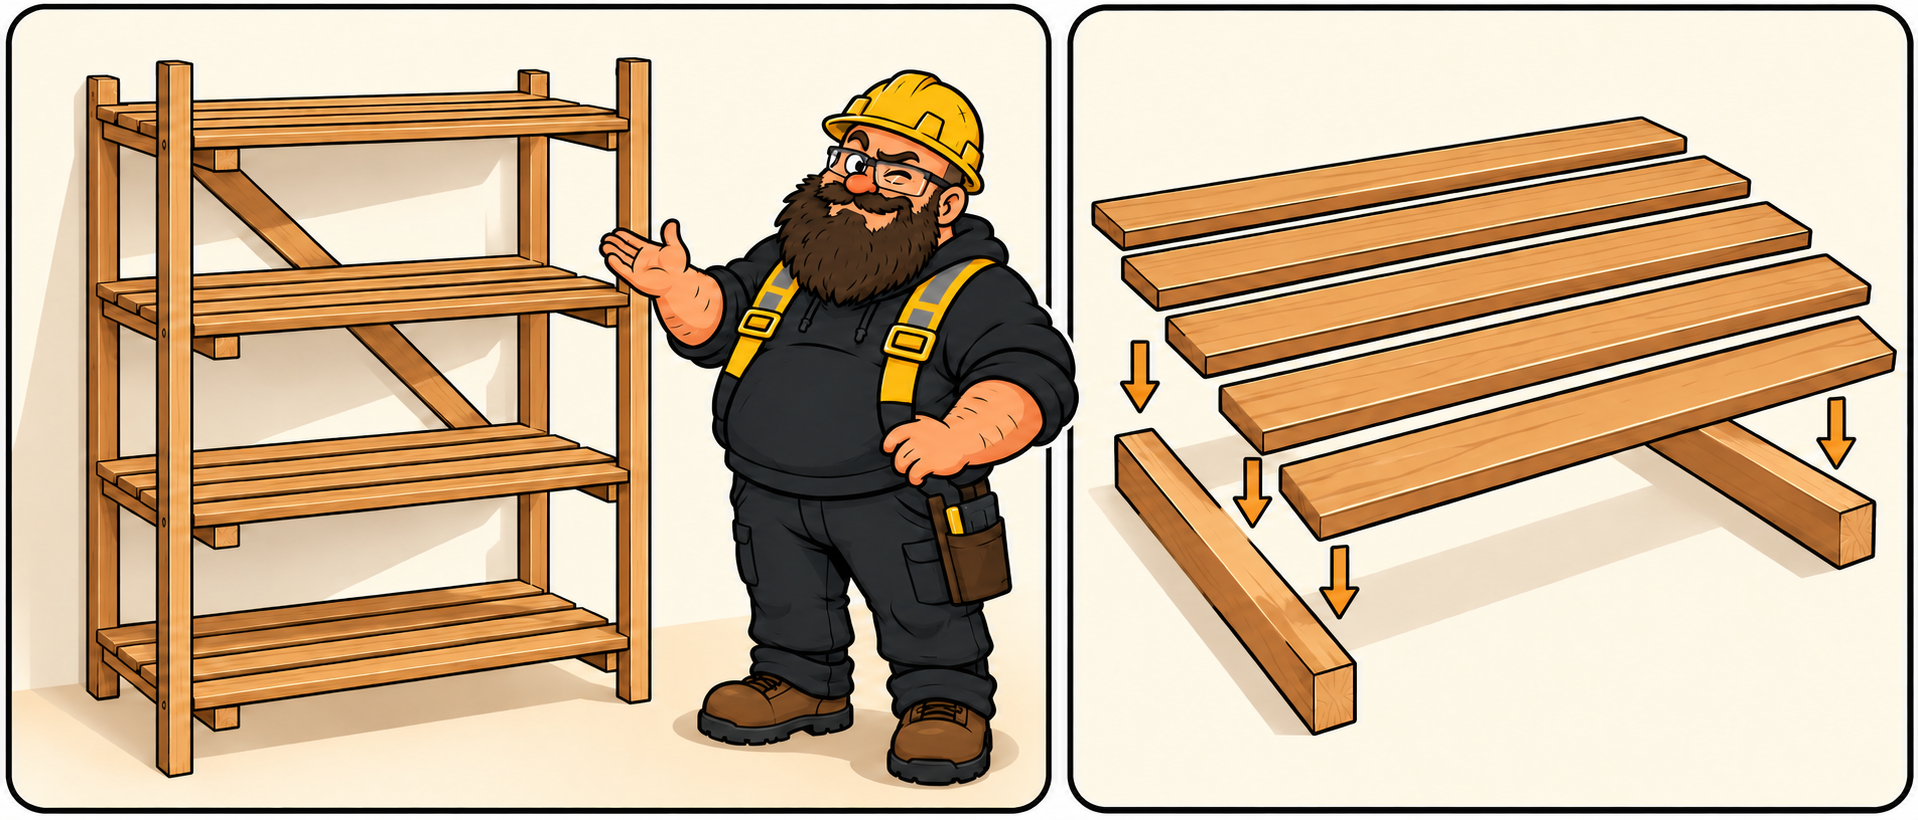
The left view shows the assembled idea. The right separates the shelf boards from the two end supports so their arrangement is easier to see. Keep it for light items such as gloves, brushes and empty containers.
Keep the frame from wobbling sideways
A sound piece of spare wood running diagonally across the back can help stop the frame leaning sideways. It needs secure connections to the frame at both ends; simply resting it against the shelves will not help. The brace is screwed to the rear uprights as described in the assembly steps.
We would not use ordinary string for this. It can stretch or go slack, even when tied in an X. If you prefer an X-shaped brace, use a purpose-made cross-bracing system suitable for the frame and follow its fitting instructions.
Tools to have ready
- Tape measure and pencil — Measure the space and mark your layout.
- Matching screwdriver — Fit the selected fixings without damaging their heads.
- Eye protection — Protect your eyes while drilling or preparing wood.
- Clamps and stable work support — Hold the board securely for preparation.
- Suitable saw, only if cutting is needed — Use its manual, or ask a workshop to make the cut.
- Sandpaper — Smooth sharp edges by hand; no powered sander needed.
- Wood file — an alternative — Use a properly handled wood file to ease rough edges instead.
- Drill and wood bits — Prepare holes for the timber joints.
- Square and spirit level — Check the end assemblies are square and corresponding supports line up.
Materials
- Four sound, straight pieces of timber for the continuous uprights.
- Two short timber end supports for each shelf level — eight for the four-level version shown.
- Boards for the shelf surfaces. The illustration uses five per level; use the number that fits your chosen depth.
- A sound piece of timber for the diagonal back brace.
- Wood screws suitable for the timber thickness and joints. Their size and placement need to suit the actual pieces, without splitting the wood or leaving sharp tips exposed.
You are making the shelf supports from wood, not buying a shelf kit. Use suitable offcuts where you can; set damaged pieces aside.
1. Sort the wood before choosing a shelf
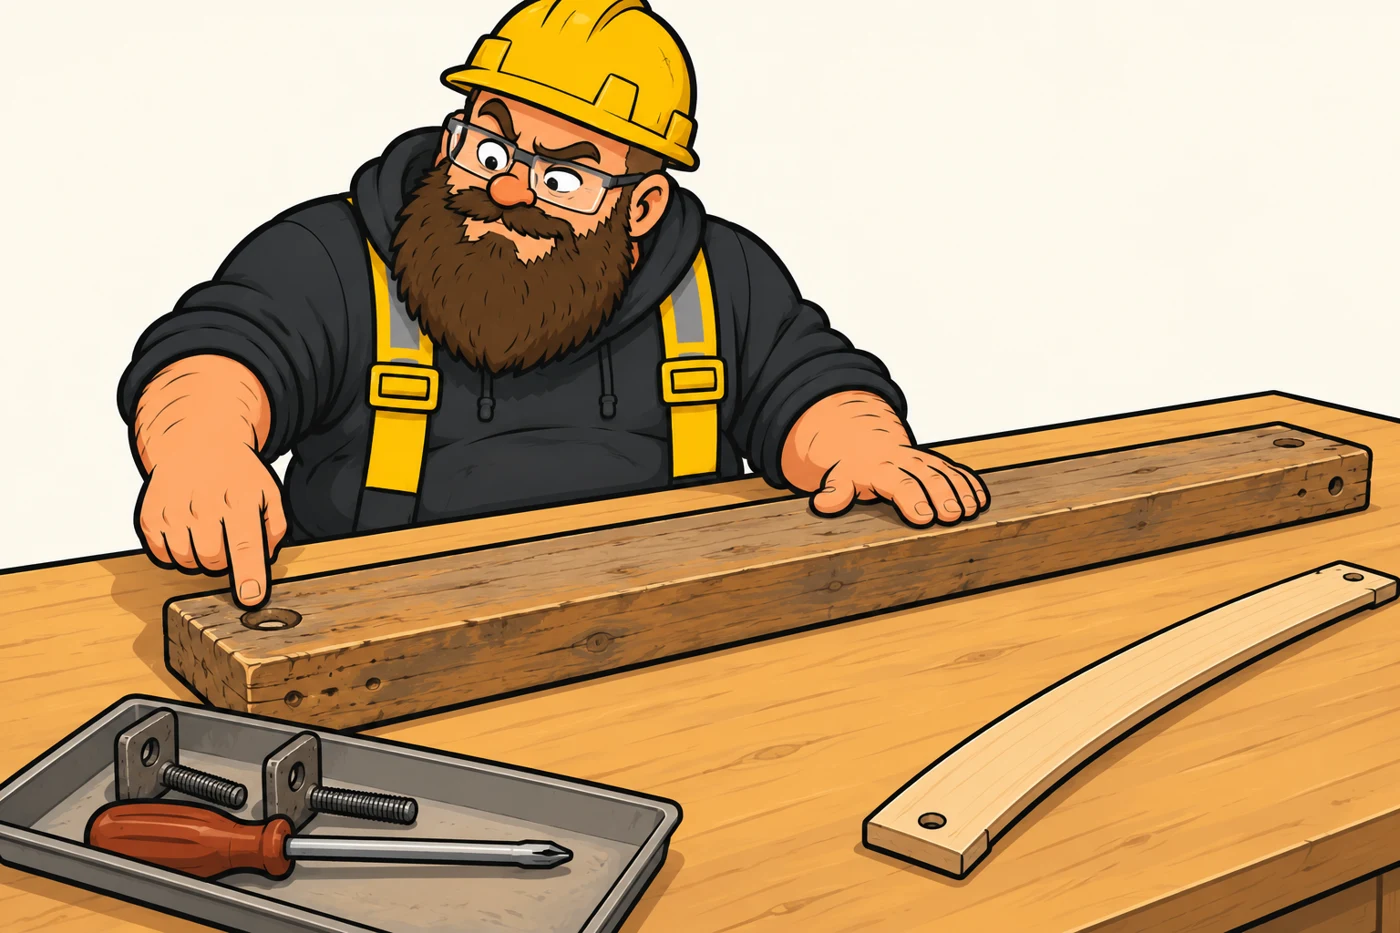
For this beginner project select only a straight, sound solid-wood board with a known safe finish and dimensions suited to its role as an upright, end support or shelf board. Set aside curved spring slats, cracked or rotten pieces, delaminating boards, particleboard and pieces with uncertain coatings or contamination. Bed-frame wood is not automatically suitable shelving. If you cannot identify its condition or confirm suitability, use a specified shelf board instead. A visual check alone cannot establish the strength of reclaimed wood.
2. Remove hardware and inspect both faces
Support the dismantled piece and remove accessible screws and fittings with matching hand tools. Inspect both faces, edges and intended cut lines for remaining metal. Do not cut wood until obstructions including nails and screws have been ruled out. If a fastener cannot be removed or hidden metal remains uncertain, set the piece aside. Do not sand or strip unknown old paint to discover what is underneath; old furniture refinishing can expose people to lead.
3. Measure the usable part, then plan the cut
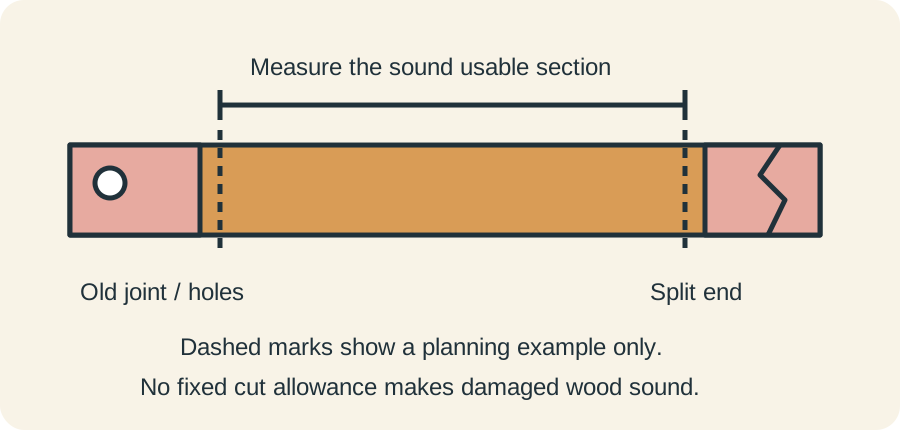
Measure actual length, width and thickness after excluding damaged ends and old joint areas. A short sound section is better than keeping a weakened end for extra length. Plan the uprights, end supports and shelf boards around the sound material you have. Keep matching parts the same length. Longer shelves may need additional supports; do not simply stretch the drawing to fit a long board. Ask a competent person to assess uncertain material. Keep this beginner job to a straight crosscut of an already suitable-width board, or have a workshop cut it. Clamp and support the work and follow the saw manual, including eye protection and dust and hearing controls as applicable. Do not hold the work in your lap.
4. Finish the edges and lay out the frame
Only after the finish is known safe, smooth sharp cut edges with suitable dust control and clean away dust. Do not use sanding to hide cracks or defects. Lay out the parts for the timber frame shown above: the end supports connect the front and back uprights, and the shelf boards rest across them. Mark matching shelf heights on the uprights from the same reference end. Use the assembly sequence below to connect the parts. Keep old holes away from new fixings and support contact areas; if the board cannot meet the required fixing layout, choose another piece. Reusing a board does not establish its load capacity, and a bed-frame load claim does not transfer to a shelf.
5. Make the first end frame
Lay a front and rear upright on a stable work surface and mark the shelf heights from the same end. Position the short supports across them at those marks and clamp the pieces square. Pre-drill the side pieces at each support-to-upright joint, then use two suitable wood screws at each joint. Keep the holes separated and clear of the edges and ends so the wood does not split. Select screw length, pilot size and edge spacing for the actual wood and fastener; two screws are the layout, not a strength rating. Do not drive screws into old holes or damaged wood, or leave their tips exposed. If a piece is too narrow or thin for a sound connection, replace it.
6. Make matching frames
Make the second end frame to match the first, checking the support heights and overall dimensions against it. If your shelf needs a middle frame, repeat the same arrangement there, including two screws at each support-to-upright joint. All supports for a shelf must line up. A longer span may need extra support; do not assume that any length of reclaimed board will work. If you are unsure about the span or material, get it checked rather than relying on the drawing.
7. Fit and secure the shelf boards
With a helper, hold the frames upright on a level floor; the unbraced frames can fall over. Lay the boards across the end supports and any middle supports, leaving small consistent gaps as shown. Check the frames are square and the shelves level. Pre-drill and screw each board down into every support it rests on, choosing screws that hold without splitting the wood or poking through. Keep the frames supported until the boards and rear brace are fixed; do not load the unit during assembly.
8. Add the back brace and check your work
With the frame held square, fit a sound wooden diagonal across the back and pre-drill and screw it to the rear uprights. The connections must hold the brace firmly; a loose strip does not stop sideways wobble. Check for split wood, exposed screw tips, loose boards and movement at the joints. If the unit rocks, racks sideways or a connection moves, correct it before use. Keep it for light items such as gloves, brushes and empty containers. Do not climb or lean on it. See the separate wall-restraint advice below for protection against tipping.
A cleaner exit when drilling
If a hole needs to go all the way through a piece, clamp a flat scrap of wood tightly against the exit side. Drill into that scrap rather than straight out into open air; it supports the fibres and helps reduce splintering. Secure both pieces, keep your hands clear of the bit, and leave enough backing thickness to avoid drilling into the bench. Ease off the pressure as the bit breaks through.
You can also try masking tape over the exit mark to help hold surface fibres together, but use it alongside the backing wood rather than relying on tape alone. Test it on an offcut first and peel it away gently. This tip is for through-holes; a pilot hole meant to stop inside the wood should still stop at its intended depth.
Measure once in the units you use
Write down the actual board length, depth and thickness, then the overall height, depth and spacing between shelves. For conversion, 1 inch = 25.4 mm. For example, a measured 24-inch board is 609.6 mm (about 610 mm); that is a conversion example, not a recommended shelf size.
| Record before cutting | Your measurement |
|---|---|
| Usable length | ___ in / ___ mm |
| Depth and thickness | ___ in / ___ mm |
| Shelf heights and end-support positions | Mark matching positions on the uprights |
A few mistakes worth avoiding
- Making the shelf longer without considering whether it needs another support.
- Keeping cracked or rotten wood just because it came from an old bed frame.
- Leaving shelf boards unsecured or forgetting the back brace.
- Piling on heavy stuff. Keep this shelf for light items, not heavy toolboxes or full paint tins, and do not climb or lean on it.
Further reading: EPA: sources of lead exposure · CCOHS: circular saw safety.
Extra safety: securing the finished shelf to a wall
This is a separate step from building the timber shelf. We recommend anchoring the finished unit to help prevent it tipping, especially where children could climb it. The diagonal back brace reduces sideways wobble; it does not stop the whole shelf falling forward.
For this step, use a furniture anti-tip restraint and fixings suitable for the frame and your wall, following their instructions. Check for hidden services before drilling. If you find wires or pipes, do not drill close to them or move them; ask a qualified tradesperson to assess the location.