A new knob can freshen up a cupboard without turning the job into a kitchen renovation. Start with one door: check the fit, finish it, then decide whether to change the rest.
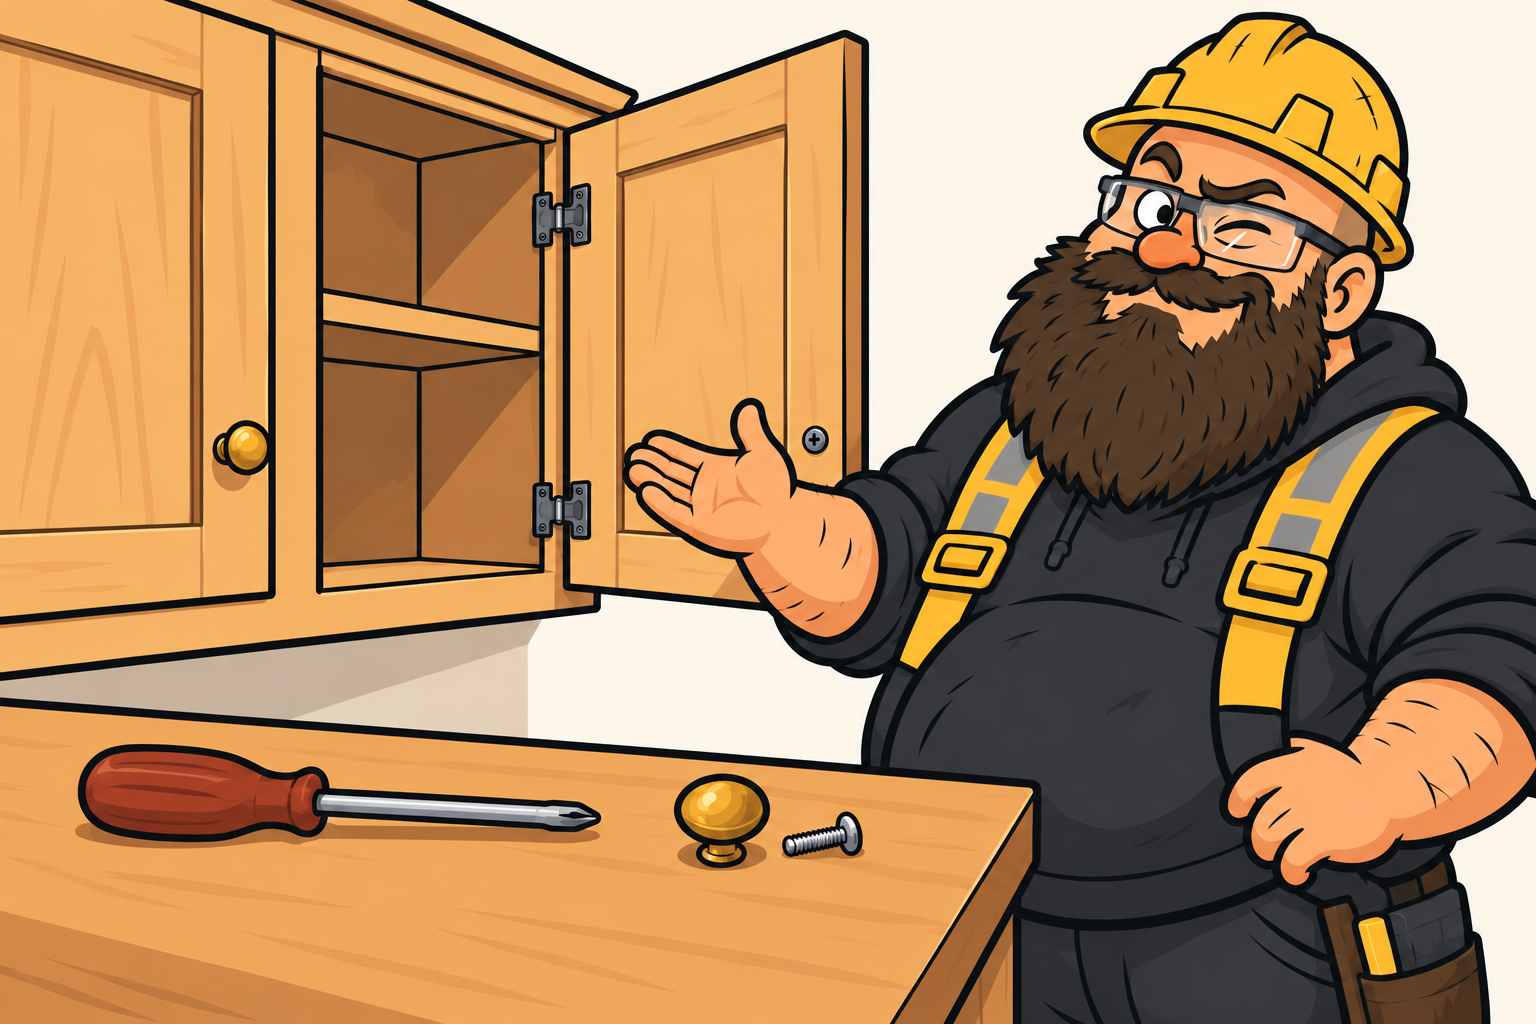
For a sound wooden or wood-based cabinet door with a single through-screw knob. This guide does not cover glass doors, damaged fixing holes, concealed fasteners, drilling, or changing a knob to a two-hole handle.
Tools you need
- Matching manual screwdriver — Turn the screw with a tip that fits its exact head type and size.
- Ruler — Measure the thickness the screw must pass through.
Materials
- Replacement knob and the correct mounting screw specified for it.
- Soft cloth and a finish-compatible cleaner.
- Small dish for the old hardware.
Before you start
Stop if the door is cracked, the hole is enlarged, or the screw is seized or has a damaged head. Do not drill, hammer or force the fixing to make this replacement work. A cabinet repairer can assess damaged wood or an inaccessible fixing. Keep small parts away from children.
1Check the fixing before buying
Open the door and locate the screw behind the knob. Confirm that it is an ordinary through-screw fitting. Measure the door thickness at the hole and check the replacement instructions. Screw threads and lengths vary: an old screw is not automatically compatible with a new knob.
2Remove one knob
Keep the door steady and place the correctly fitting screwdriver straight into the screw head. Restrain the knob from the front while keeping your other hand away from the screwdriver’s possible slip path. Undo the screw slowly. Put the old knob and screw together in the dish. Stop if it will not turn without forcing it.
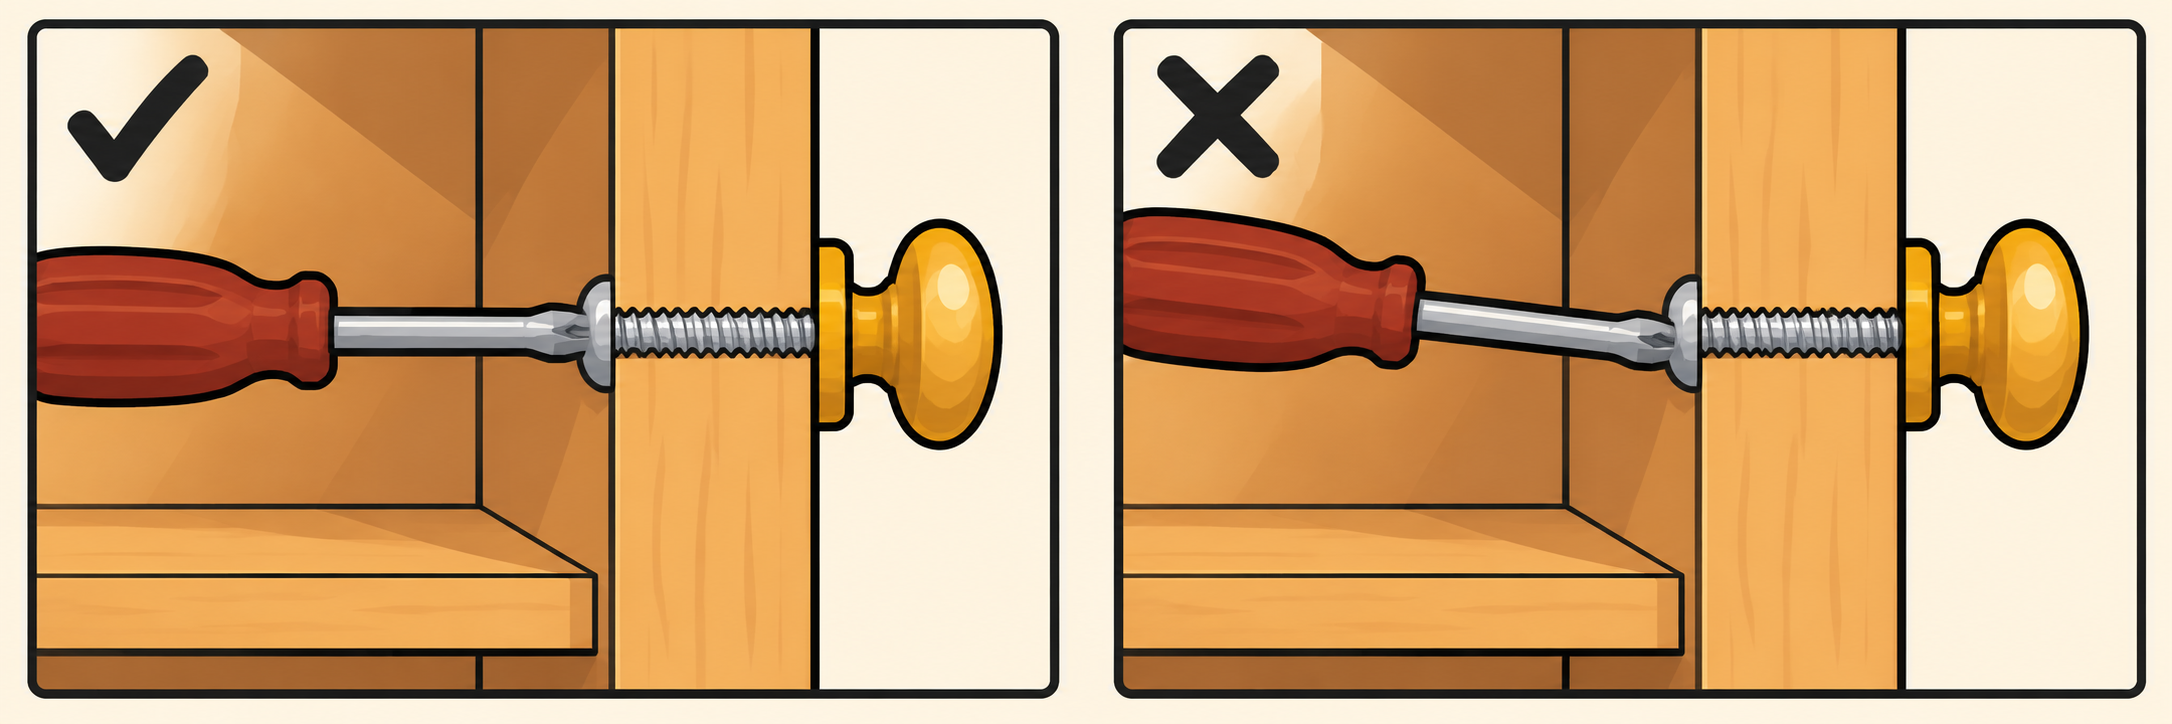
Original FixerToolbox schematic. Follow the instructions for your actual hardware; proportions are illustrative.
3Inspect and clean the exposed area
Look for cracks, loose material or an old finish outline that the new knob will not cover. Wipe the area using a cleaner suitable for the finish and let it dry. Do not scrape or sand an unknown coating as part of this job.
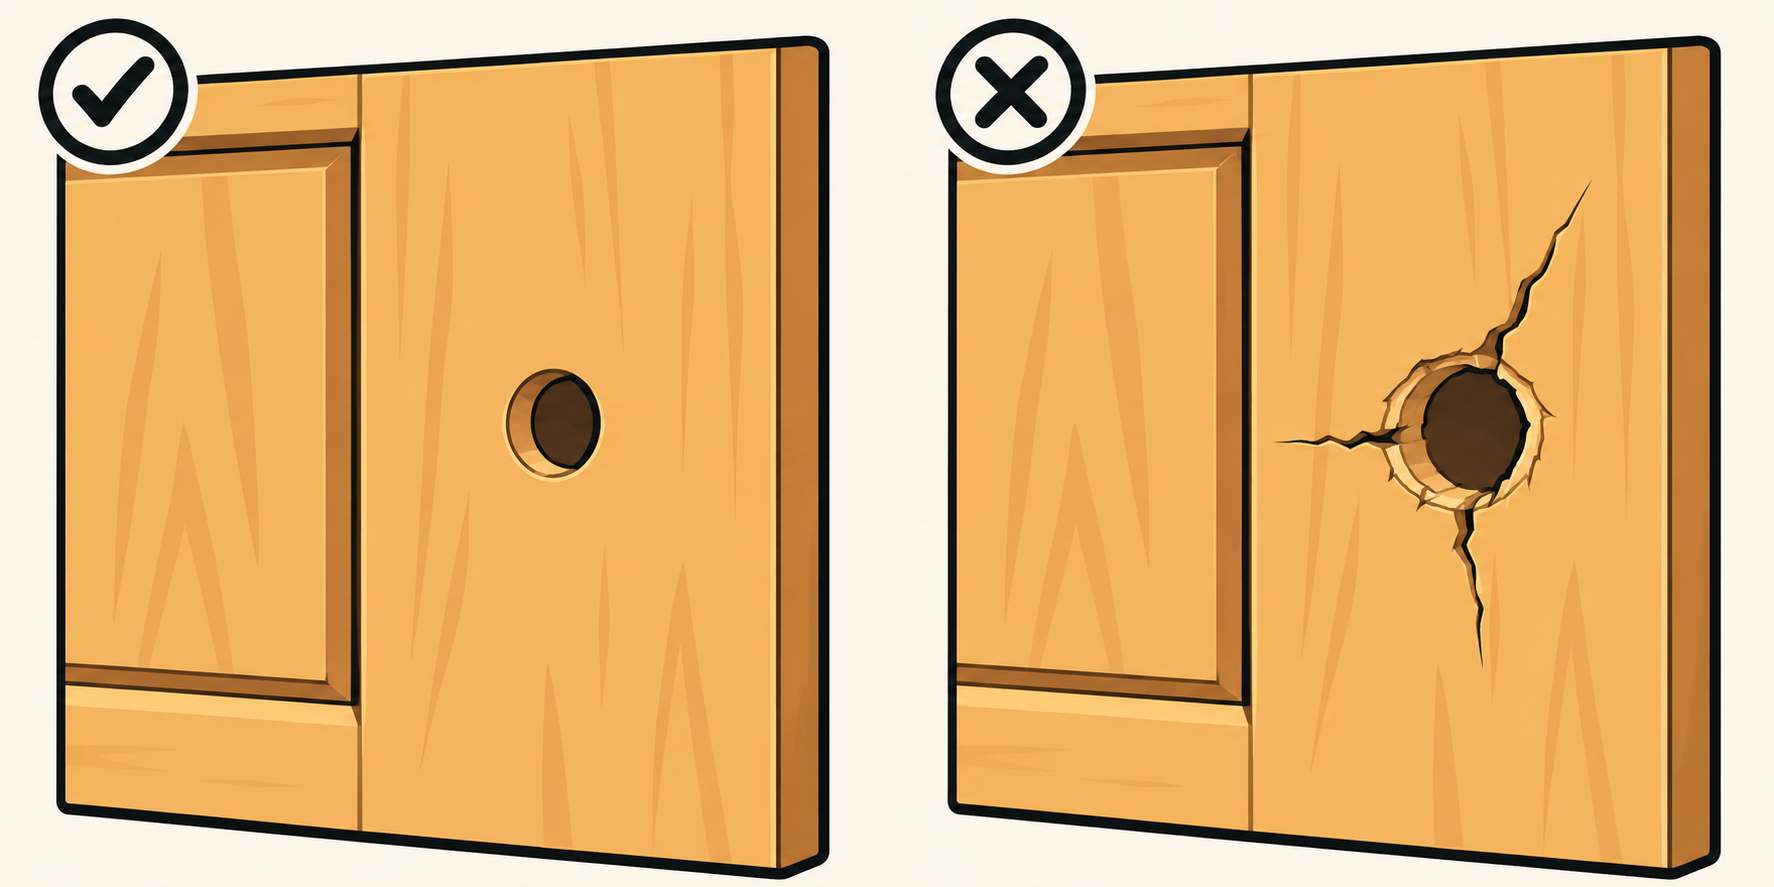
Original FixerToolbox schematic. Follow the instructions for your actual hardware; proportions are illustrative.
4Start the new fixing by hand
Use the screw specified for the new knob and the measured door thickness. Pass it through the existing hole and align the knob. Start the threads gently; if they bind immediately, stop and recheck the thread rather than driving harder. Follow the hardware instructions for any supplied washer or backplate.
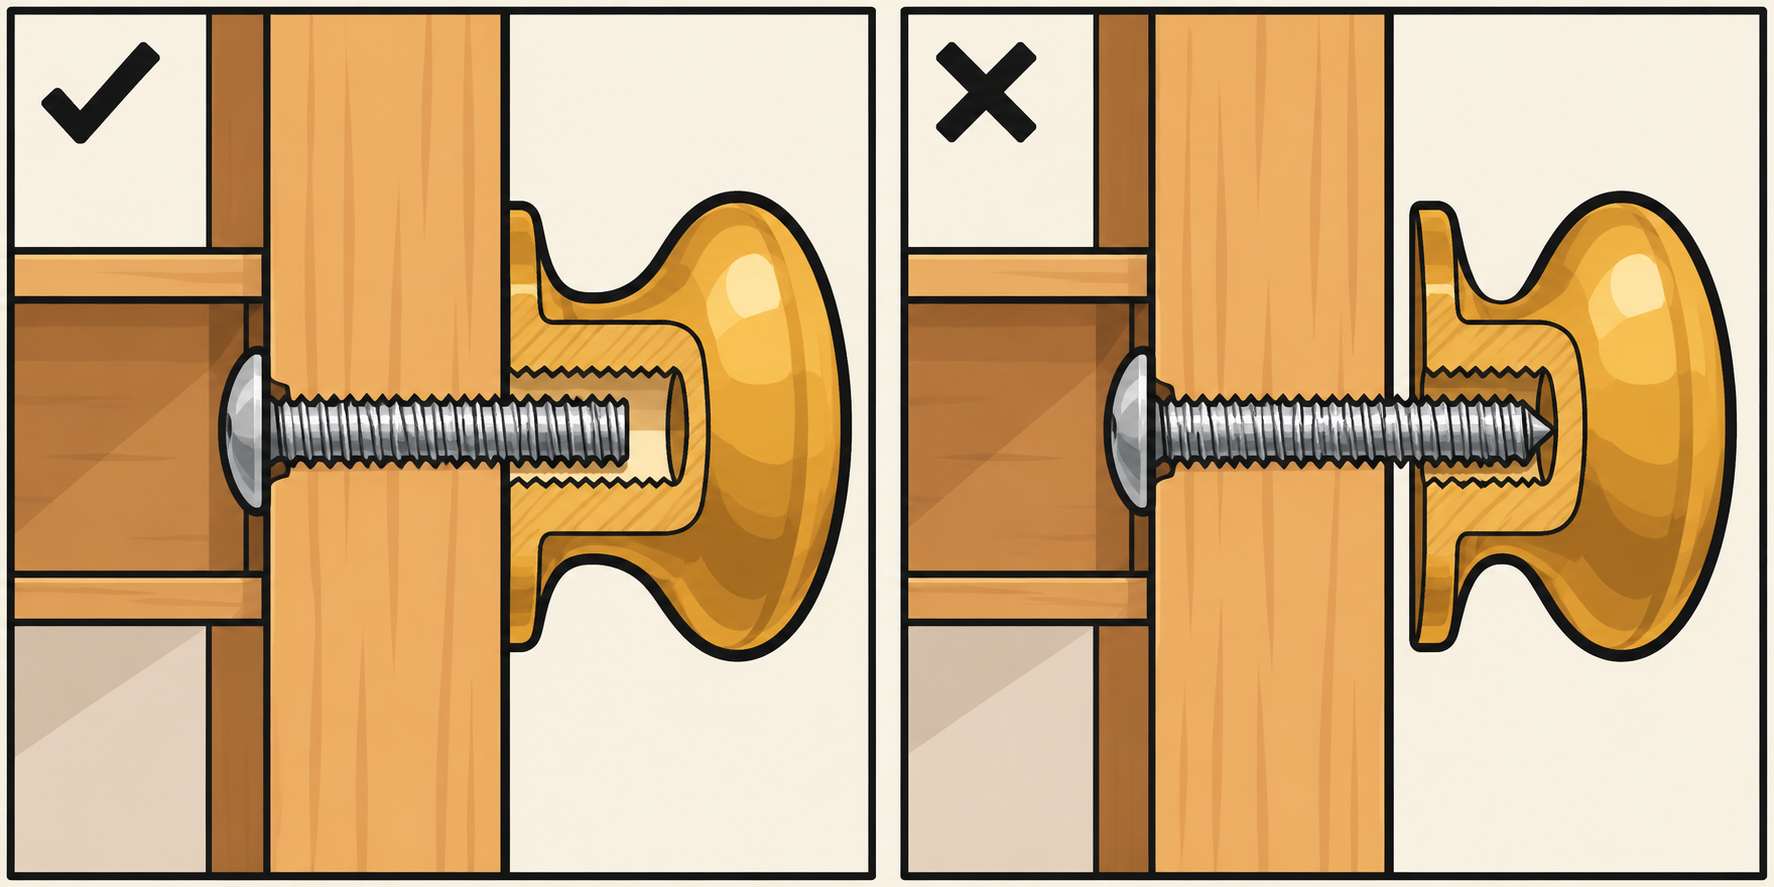
Original FixerToolbox schematic. Follow the instructions for your actual hardware; proportions are illustrative.
5Finish with controlled pressure
Keep the knob aligned and tighten with the manual screwdriver as the hardware instructions require. Do not keep turning once it is seated securely. If the screw stops but the knob is still loose, check the specified screw length and fitting arrangement instead of adding more force.
6Check it in everyday use
Open and close the door several times. The knob should stay seated without wobbling, and the door should operate as before. Check that the new shape clears adjacent doors. If it loosens again, investigate the fixing; do not repeatedly overtighten it.
Avoid these mistakes
- Using a nearly matching screwdriver can damage the screw head.
- Reusing the old screw without checking its thread and length can leave the knob loose or damage its threads.
- A larger knob may hide an old mark, but it does not repair damaged wood.