Is this the right job?
For an ordinary sound indoor cabinet with replaceable adhesive bumpers and a door that already closes correctly. Not for fire-rated, appliance, glass or child-safety fittings. Match the original position and thickness; do not adjust hinges in this job.
Tools to gather
- Ruler — Compare the original bumper size with the replacement specification.
Materials
- Compatible self-adhesive cabinet bumpers of the original size and profile.
- Soft cloth and a cleaner approved for both the finish and adhesive.
1Find the original contact point
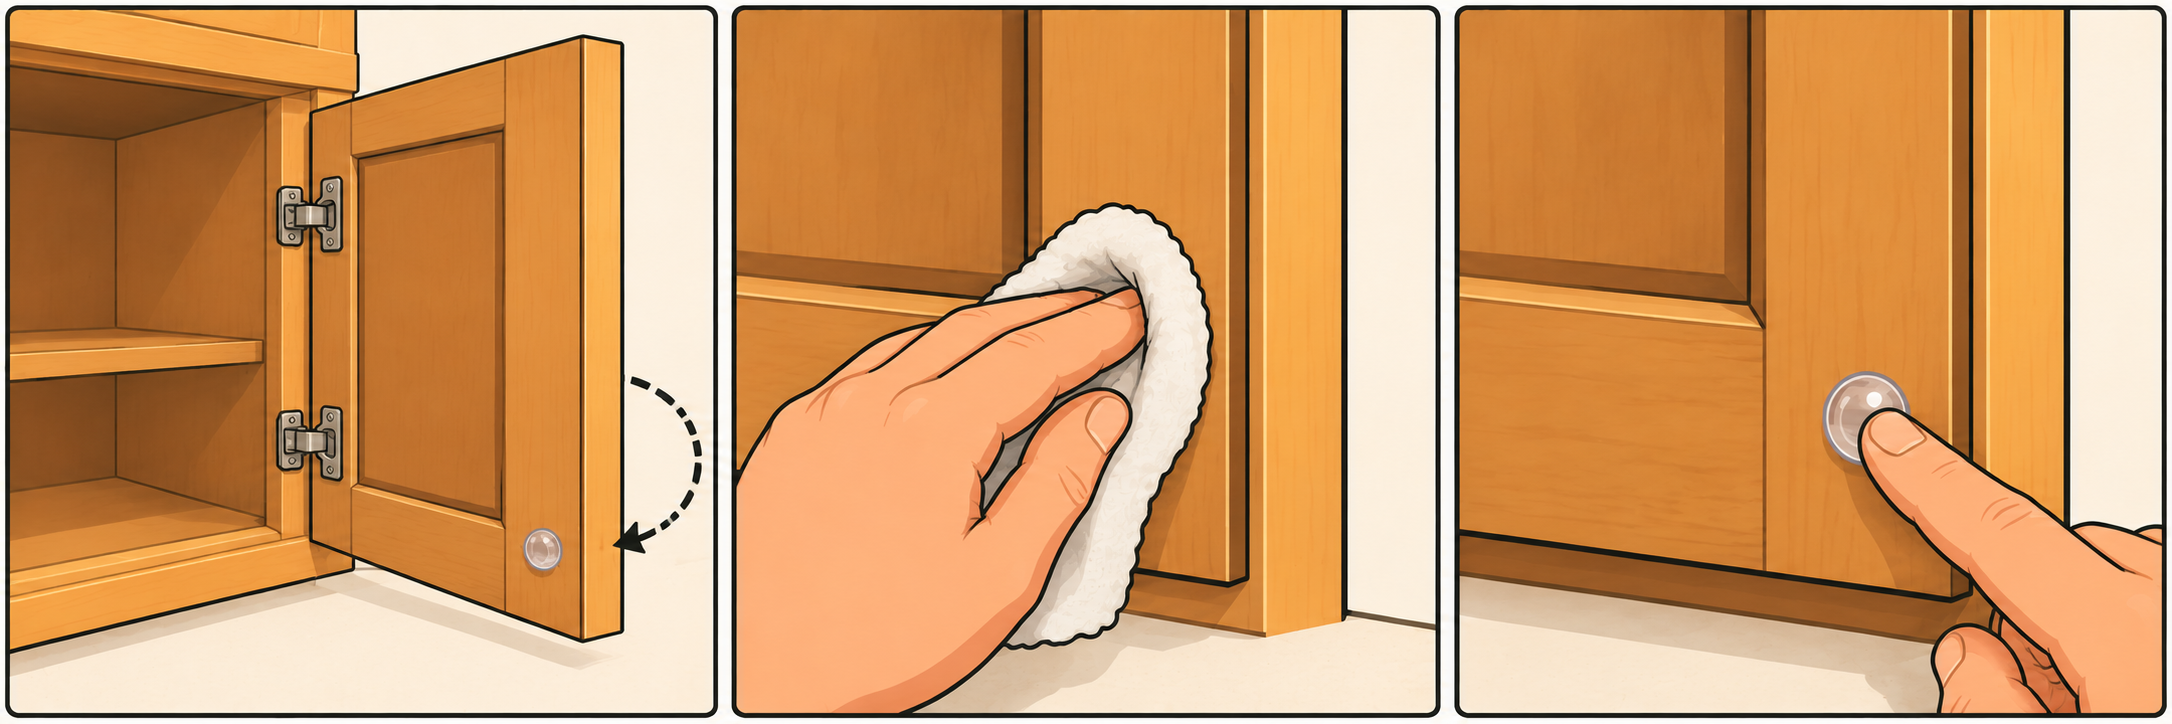
Open and gently close the door to see where the bumper belongs. Compare an intact matching bumper if one remains. If you cannot identify the correct replacement, check the cabinet instructions before removing anything.
2Prepare a sound surface
Remove the old bumper only by a method safe for the finish. Clean away dirt and permitted adhesive residue, then let the area dry. Stop if the finish begins to lift.
3Fit one bumper
Peel its backing without touching the adhesive. Place it at the intended contact point and press as its instructions specify. Allow the stated bonding time; different adhesives need different conditions.
4Close gently and check
Check that the bumper contacts the frame without holding the door open. Do not slam the door to compress an oversized pad or stack pads. Recheck adhesion during normal cleaning and remove any loose pieces.
Common mistakes to avoid
- Using padding to disguise a hinge or alignment fault.
- Sticking a new bumper over old adhesive or loose paint.
- Choosing extra thickness without checking normal closure.