Before spraying anything, open the door slowly and listen. A squeak at the hinge, a scrape along the floor, and a latch rubbing against its plate are different problems. This guide starts with the hinge and keeps the door hanging in place.
Plan the project
Beginner · Work slowly by hand; stop if the fixing or material is damaged.
Tools and materials
Materials
- A suitable doorstop to prevent unwanted movement during the inspection; it is not a support for removing hardware.
- Only the lubricant and applicator specified for your hinge, if in-place lubrication is permitted.
- Floor protection compatible with the finish.
Is this your job?
For a light, ordinary interior room door with accessible, conventional hinges in otherwise sound condition. No hinge-pin removal, door removal, planing, drilling or hinge replacement. Fire doors, entrance/security doors, heavy or glazed doors, spring hinges and concealed hinges are outside this job.
Before you start
Keep fingers out of the hinge gap and children or pets out of the swing area. Do not wedge a fire door open or adjust a closer. Stop for a loose hinge pulling out of the wood, a dropping door, bent hardware, severe rust, or scraping that suggests misalignment. A carpenter or door specialist should assess those problems.
What each tool does
Correct-size manual screwdriver or bit driver: Check accessible hinge screws; a drill or impact driver is unnecessary. Work light: See screw heads and signs of damage. Soft cloth: Remove surface dust and catch or wipe drips.
Check the result
A quieter door should also move and latch normally. If it does not, the result is incomplete. Note which hinge makes the noise and what you observed before asking for help.
Project steps
Locate the noise
Move the door gently by its handle. Listen near each hinge without putting your face or fingers in the gap. If the noise comes from the latch or the door rubs the frame or floor, do not assume lubricant will fix it. Stop this procedure and identify that separate problem.
Keep the door still and inspect
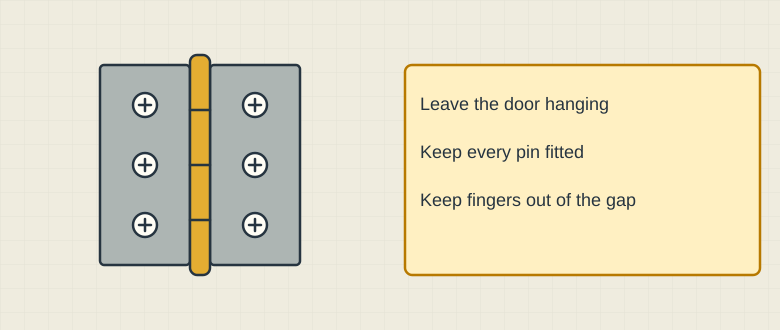
Schematic illustration. Schematic hinge: inspect with the door stable; leave screws and pins fitted. Hold the door in a stable position with an appropriate stop. Check that hinge leaves lie flat and the wood is sound. Leave every hinge and pin fitted. Do not remove screws to inspect the holes.
Check accessible screws by hand
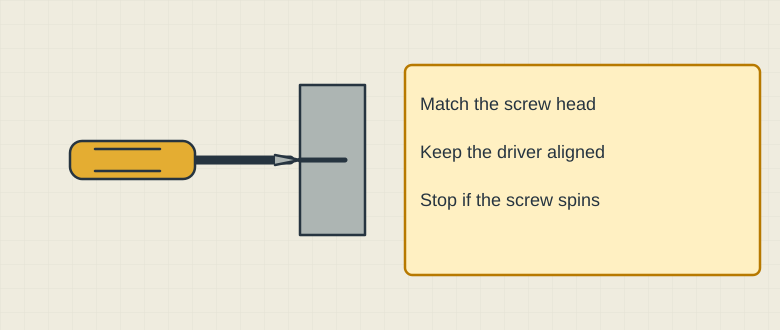
Schematic illustration. Use a matching manual driver on an accessible loose screw. Do not force it or remove hardware. Use a tip that fully matches the head and keep the driver in line with the screw. If an existing screw is visibly loose, tighten it gradually by hand only until the hinge leaf is seated. Do not loosen sound screws, force a resistant screw or chase a torque estimate. Stop if it spins without gripping, the head begins to slip, or the wood moves.
Use the right lubrication method, if needed
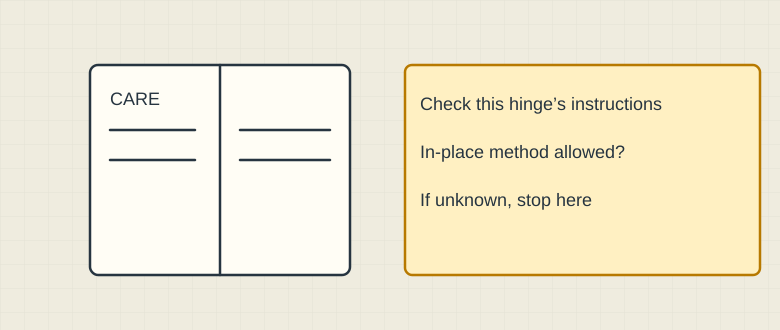
Schematic illustration. Lubrication varies by hinge. Follow its specific in-place method or ask a door specialist. Check the hinge’s care instructions. If they allow lubrication from outside with the pin in place, apply the specified product at the stated point and in the stated amount, catching excess with a cloth. Follow its ventilation, ignition and protective-equipment instructions. If the hinge needs pin removal, has an unfamiliar bearing system, is maintenance-free, or its care method cannot be identified, leave this step for a door specialist.
Test gently and clean up
Remove the stop and move the door slowly by the handle, keeping hands away from the hinge gap. Wipe any excess as the product instructions require. Check that it still closes and latches normally. If the noise remains or the door binds, stop rather than adding more oil or removing hardware.
Safety & limits
- Keep fingers out of the hinge gap and children or pets out of the swing area. Do not wedge a fire door open or adjust a closer. Stop for a loose hinge pulling out of the wood, a dropping door, bent hardware, severe rust, or scraping that suggests misalignment. A carpenter or door specialist should assess those problems.
- Using a random household oil or spray on every hinge. Some hinges need different products or no extra lubricant.
- Tightening until a screw stops spinning in a damaged hole. More turning will not restore its grip.
- Hammering a hinge pin out to turn a small job into a bigger repair. Pin removal is outside this guide.
Sources & further reading
These links document the information used in this article. Manufacturer specifications and source research are not hands-on test results or an endorsement of a purchase.
- CCOHS: general screwdriver safety (Canadian guidance, not US code or task approval)
Reference checked 2026-10-29