A mat of hair on the shower strainer is worth removing before it builds up. Start at the surface: this guide cleans the removable cover or hair catcher, without reaching down the pipe.
Plan the project
Beginner · Allow time to identify the part and follow its care instructions; stop if the simple clean does not resolve the issue.
Tools and materials
Required tools
Materials
- Tray for any screws or loose parts
- Paper towels and waste bag
- Water and a cleaner compatible with the drain finish, if needed
Is this your job?
For an accessible shower drain cover or hair catcher designed to be removed for routine cleaning. It does not cover sealed covers, drain-body removal, waterproofing repairs, toilets, or deeper blockages.
Before you start
Do not work in standing water containing drain cleaner, unknown chemicals, or sewage. If several fixtures back up, water leaks outside the shower, or the drain body moves, stop and get a plumber’s assessment. Keep the shower off and dry the area where you stand.
Project steps
Identify the cleaning access
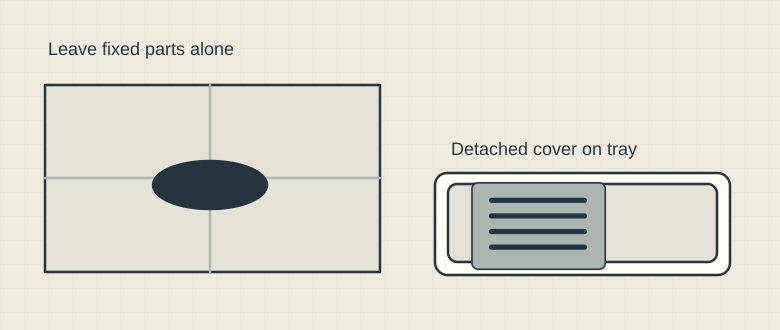
Schematic illustration. The cover and catcher shown are schematic examples. Follow the actual drain instructions; do not disturb tile, sealant or the drain body. Check the drain’s instructions. A lift-out strainer, clipped cover, and screw-fastened cover do not come apart in the same way. Remove only the part identified for cleaning. Do not pry at grout, cut sealant, or undo the drain body.
Keep the small parts together
Use the specified release method or correctly fitting screwdriver. Put removable parts on a tray outside the shower so they cannot fall into the opening. Stop if the cover is stuck or damaged.
Remove collected hair
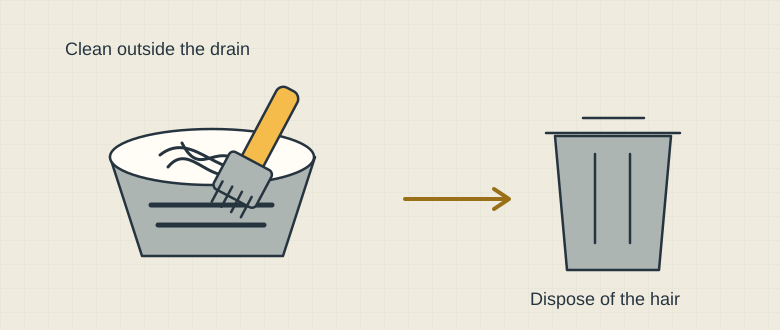
Schematic illustration. Remove collected hair from the detached catcher. Brush the removable part; do not reach or feed tools into the pipe. Lift hair off the detached cover or catcher and put it in the trash. Brush and rinse that removable part, using its care instructions for any cleaner. Wipe only accessible surface residue at the opening; do not feed a wire, hook, or improvised tool into the pipe.
Refit before standing on it
Put the catcher and cover back in their required orientation. Check that the cover is secure and sits as intended. If it rocks, will not fasten, or has a sharp broken edge, keep the shower out of use until repaired.
Watch the first water test
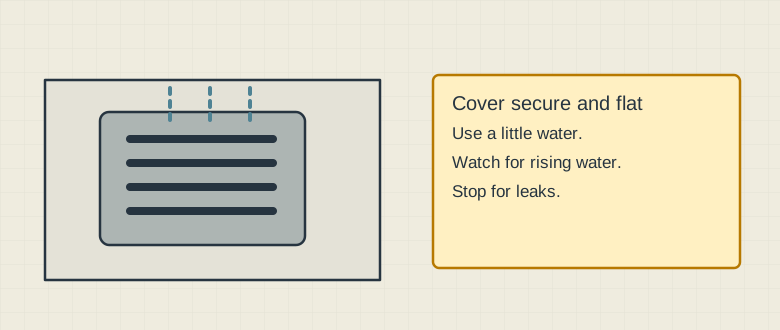
Schematic illustration. The cover must be securely refitted before use. Stop if pooling increases or water leaks outside the shower. With the cover in place, briefly run a small amount of cool water and watch the drain. Turn it off if pooling increases or a leak appears. If the shower still drains poorly, this surface clean has reached its limit; arrange further investigation.
Safety & limits
- Leaving the opening uncovered while someone uses the shower. Refit the cover first.
- Forcing a screw or clip that does not release. Confirm the mechanism rather than damaging it.
- Treating a clean hair catcher as proof that the drain underneath is clear. Test and stop if the problem remains.
Common questions
What should I do after the job?
Dispose of the hair, rinse and store your cleaning tools, and wash your hands. Make checking the catcher part of your shower-cleaning routine, adjusting the frequency to how quickly hair collects.
Sources & further reading
These links document the information used in this article. Manufacturer specifications and source research are not hands-on test results or an endorsement of a purchase.
- Washington State Department of Health: cleaning-product mixing hazards
Reference checked 2026-10-29