If your bathroom sink has started draining slowly, take a look at the stopper before reaching for a bottle of drain cleaner. Hair and residue on a removable stopper are a manageable cleaning job. A blockage farther down the pipe is a different job.
Plan the project
Beginner · Allow time to identify the part and follow its care instructions; stop if the simple clean does not resolve the issue.
Tools and materials
Materials
- Small tray for removable parts
- Paper towels and a waste bag
- Clean water; only a finish-compatible cleaner if the care instructions allow it
Is this your job?
For a bathroom basin with a stopper that its instructions identify as removable from above for cleaning. This does not cover kitchen sinks, garbage disposals, under-sink linkages, traps, or a completely blocked basin.
Before you start
Do not start if drain cleaner has been added or you do not know what is in standing water. Do not add anything else or try to neutralize it. Keep the product information and ask a plumber how to proceed. Stop for leaks, wastewater backing up in another fixture, or a basin that does not drain at all.
Project steps
Check how your stopper comes out
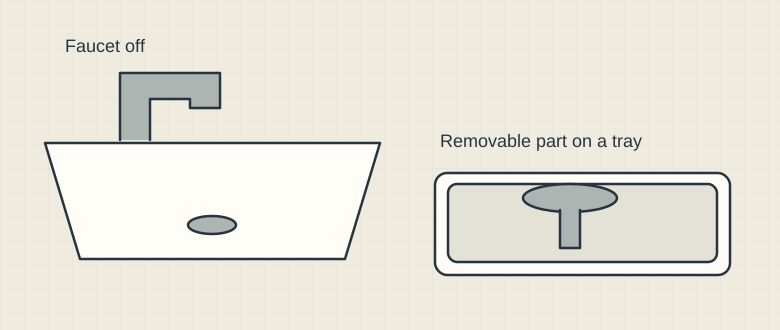
Schematic illustration. Example only: use the stopper’s own cleaning instructions. Leave the fixed drain body and pipe connections alone. Turn the faucet off. Find the stopper’s cleaning instructions before twisting or pulling it. Some mechanisms need work underneath the sink; those are outside this guide. If the instructions are unavailable or removal needs force, stop here.
Set the part aside safely
Remove only the part identified for routine cleaning, following those instructions. Put it on a tray and note the position of any seal. Leave the fixed drain body and pipe connections alone.
Lift debris out, not farther in
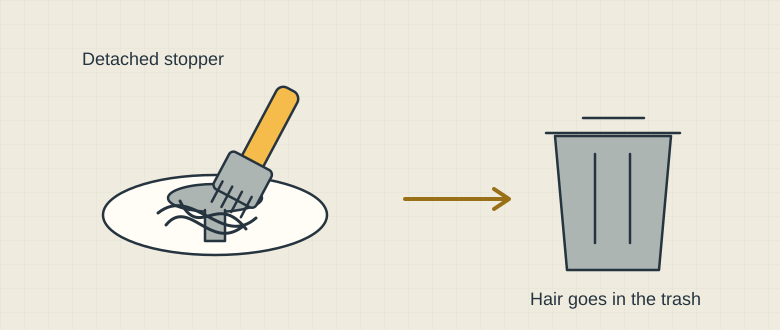
Schematic illustration. Clean the detached stopper. Put removed hair in the trash; do not push it into the drain. With protective gloves on, remove hair from the detached part and put it in the waste bag. Use a soft brush and water to clean accessible surfaces. Wipe visible loose residue at the opening without pushing tools or fingers into the pipe. If you see a sharp object, stop rather than reaching for it.
Check and refit
Look for a split seal, a broken component, or a mechanism that will not operate. Those need the correct replacement or professional help. Refit the cleaned part as its instructions describe; do not use extra force to compensate for a poor fit.
Test a little water
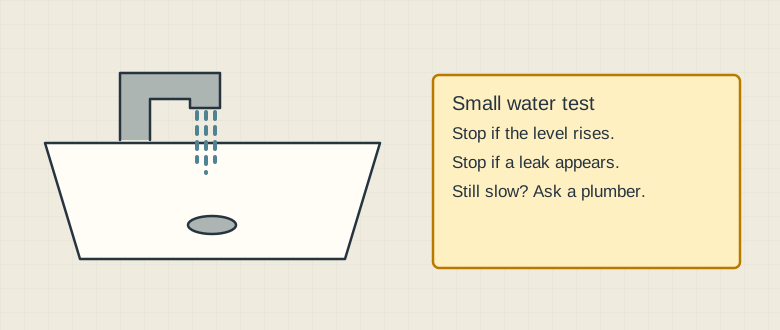
Schematic illustration. Refit the stopper first. Watch a small water test and stop if water rises or a leak appears. Open the stopper and run a small amount of cool water while watching the basin and visible plumbing for leaks. Turn the faucet off promptly if water rises or a leak appears. If it still drains slowly, leave deeper clearing to a plumber rather than repeating this cleaning indefinitely.
Safety & limits
- Pulling hard on a stopper that is attached below the basin. Identify the mechanism first.
- Washing the removed hair back down the drain. Put it in the trash.
- Assuming a cleaner-looking stopper proves the pipe is clear. Check the result with a small water test.
Common questions
What should I do after the job?
Dry the work area, clean the tools, and wash your hands. If residue was the problem, check the removable stopper when drainage begins to slow again; there is no single cleaning interval for every household.
Sources & further reading
These links document the information used in this article. Manufacturer specifications and source research are not hands-on test results or an endorsement of a purchase.
- Washington State Department of Health: do not mix cleaning products
Reference checked 2026-10-29