If one faucet has an uneven or weak stream, its aerator may be worth checking. The aerator is the small outlet insert that shapes the water stream. This guide covers cleaning an insert designed to be removed by the user—not repairing the faucet or diagnosing your home’s water pressure.
Plan the project
Beginner · Allow time to identify the part and follow its care instructions; stop if the simple clean does not resolve the issue.
Tools and materials
Required tools
- Soft brush and clean cloth
- Work light, if needed
- The exact aerator key, only if specified
Materials
- Small bowl or tray
- Cloth or drain cover to catch dropped pieces
- Clean water; a manufacturer-approved descaling method only if needed
Is this your job?
For an ordinary faucet with an identified, user-removable aerator. Follow the exact faucet instructions. Fixed inserts, unfamiliar pull-out spray heads, leaking faucets, and problems affecting several fixtures need a different assessment.
Before you start
Turn the faucet off and let hot parts cool. Do not force a stuck insert, grip a delicate finish with bare pliers, or open supply connections. If the body moves or a leak develops, stop. This cleaning does not make unsafe drinking water safe; follow your water supplier’s advice if there is a water-quality concern.
Project steps
Confirm the outlet is removable
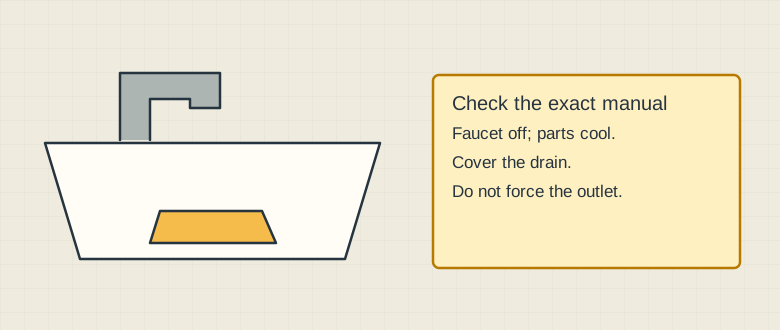
Schematic illustration. Some outlets require a matching key; others are not user-removable. Cover the drain before handling small parts. This image is not a removal instruction. Check the faucet model’s care instructions. Some aerators have an exposed housing; others sit inside the spout and need a matching key. If yours is not intended for user removal, do not improvise a removal tool.
Catch the small pieces
Cover the drain and place a tray nearby. Remove the aerator using the specified method. Keep the washer and any permitted loose parts in order; a quick photo can help. Do not take apart a sealed insert.
Rinse gently
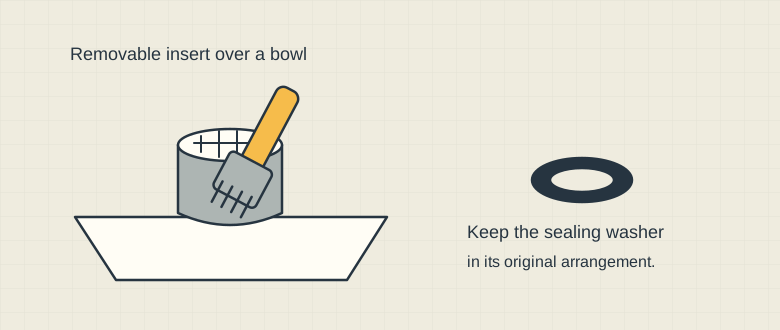
Schematic illustration. Clean only the user-removable insert. Keep the washer and any permitted loose parts; do not dismantle a sealed insert. Rinse loose debris from the removable insert into a separate bowl and use a soft brush where accessible. If deposits remain, use only the cleaning treatment and contact time allowed for that part and finish. Do not assume vinegar is suitable for every faucet, and never mix cleaners.
Reassemble without forcing
Return the parts and washer in their original order, following the instructions. Start a threaded housing squarely by hand where the design allows it. If it will not engage easily, stop and realign rather than tightening harder.
Check the stream and the joint
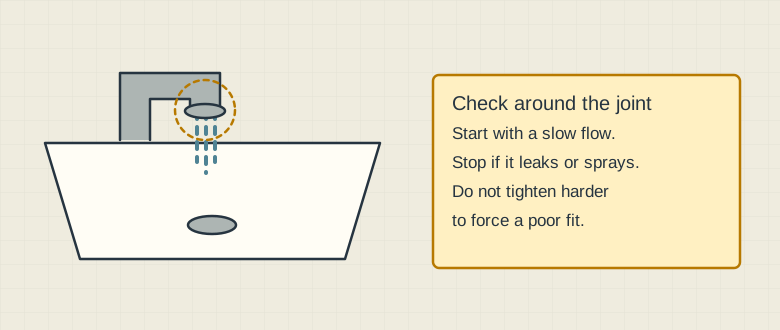
Schematic illustration. Refit in the specified order. Turn cool water on slowly and stop if the housing leaks or sprays unexpectedly. Remove the drain cover. Turn on cool water slowly and check for a normal stream and leakage around the aerator housing. Turn the water off if it leaks or sprays unexpectedly. A persistent problem may need the correct replacement insert or a plumber’s diagnosis.
Safety & limits
- Losing the washer down the drain. Cover the opening before removal.
- Using a random key or forcing a fixed insert. Identify the exact removal method first.
- Removing a flow-control component to chase more flow. Refit the original approved arrangement; do not modify the insert.
Common questions
What should I do after the job?
Clean up the work area and keep any dedicated key with the faucet information. If flow is still poor, note whether the problem affects only this faucet or other fixtures too before asking for help.
Sources & further reading
These links document the information used in this article. Manufacturer specifications and source research are not hands-on test results or an endorsement of a purchase.
- Health Canada: cleaning faucet aerators — general guidance; exact faucet instructions take priority
Reference checked 2026-10-29 - Washington State Department of Health: do not mix cleaning products
Reference checked 2026-10-29