Crumbs and sticky spills can collect in the folds around a refrigerator door. A gentle clean is a small maintenance job you can do without removing the seal or moving the appliance.
Plan the project
Beginner · Work at your own pace and follow the product’s cleaning instructions; stop if the task exceeds accessible surface cleaning.
Tools and materials
Required tools
Materials
- A small bowl of water
- The cleaning solution allowed by your refrigerator manual, if water alone is insufficient
- A separate clean drying cloth
Is this your job?
Accessible surface cleaning of an intact door gasket. This does not repair a torn seal, a misaligned door, or a refrigerator that cannot maintain its required temperature.
Before you start
Read the appliance’s cleaning instructions, including any requirement to disconnect power. Do not move the refrigerator to reach a plug, remove a panel, or spray liquid into openings. Keep the door open only as long as necessary. Stop if the gasket is loose, split, or badly deteriorated.
Project steps
Check the care instructions
Different gasket materials have different cleaning restrictions. Do not assume dish detergent, vinegar, bleach, or oil is suitable. Prepare only the solution and dilution allowed for your model.
Prepare before opening the door
Set out the cloths and bowl so you can work without leaving the door open while hunting for supplies. Wring out the cloth; it should not drip.
Wipe the accessible folds
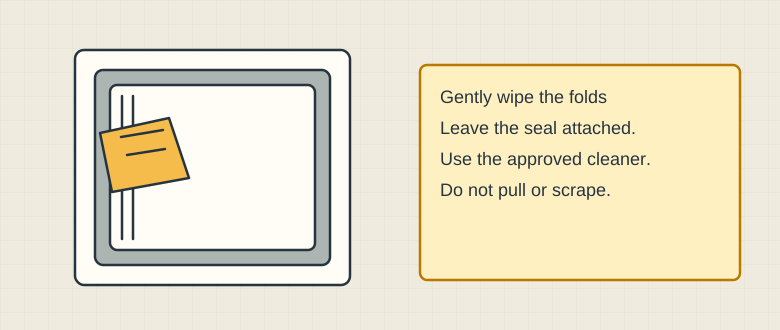
Schematic illustration. Wipe the accessible gasket without pulling it out of its channel. Wipe crumbs and residue from the visible gasket and its contact surface. Follow the folds gently without pulling the seal out of its channel. Do not scrape hardened residue with a knife. If gentle cleaning is not enough, stop and check the manufacturer’s guidance.
Remove residue and dry
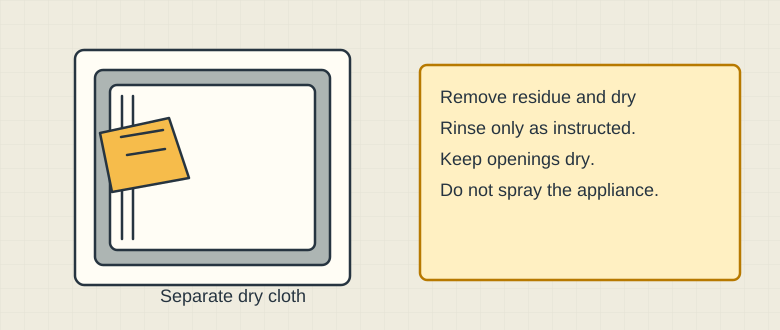
Schematic illustration. Use a separate cloth to dry the gasket and contact surface. Where the care instructions call for rinsing, use a separate cloth dampened with clean water. Wipe the gasket dry. Keep liquid away from lights, switches and openings.
Close and observe
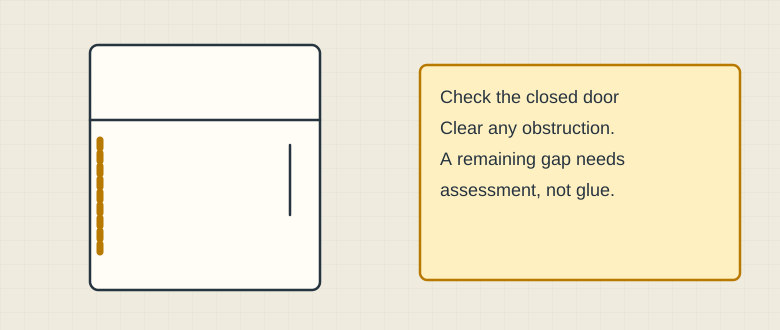
Schematic illustration. A visible gap after normal closing needs assessment; cleaning is not a cooling repair. Check that containers are not obstructing the door, then close it normally. If a visible gap remains or the door will not stay closed, arrange assessment rather than applying glue or stretching the gasket.
Safety & limits
- Using an unapproved cleaner because it works elsewhere in the kitchen. Check the gasket instructions.
- Pulling back the seal aggressively to reach a hidden mark. Clean only accessible surfaces.
- Treating a cleaned seal as proof of safe food-storage temperature. A cooling problem needs separate attention.
Sources & further reading
These links document the information used in this article. Manufacturer specifications and source research are not hands-on test results or an endorsement of a purchase.
- USDA: general refrigerator cleaning; use the appliance manual for gasket compatibility
Reference checked 2026-10-29